

Tags
Tags help you organize and categorize your monitors. You can assign tags to monitors and then filter the monitor list by tag.
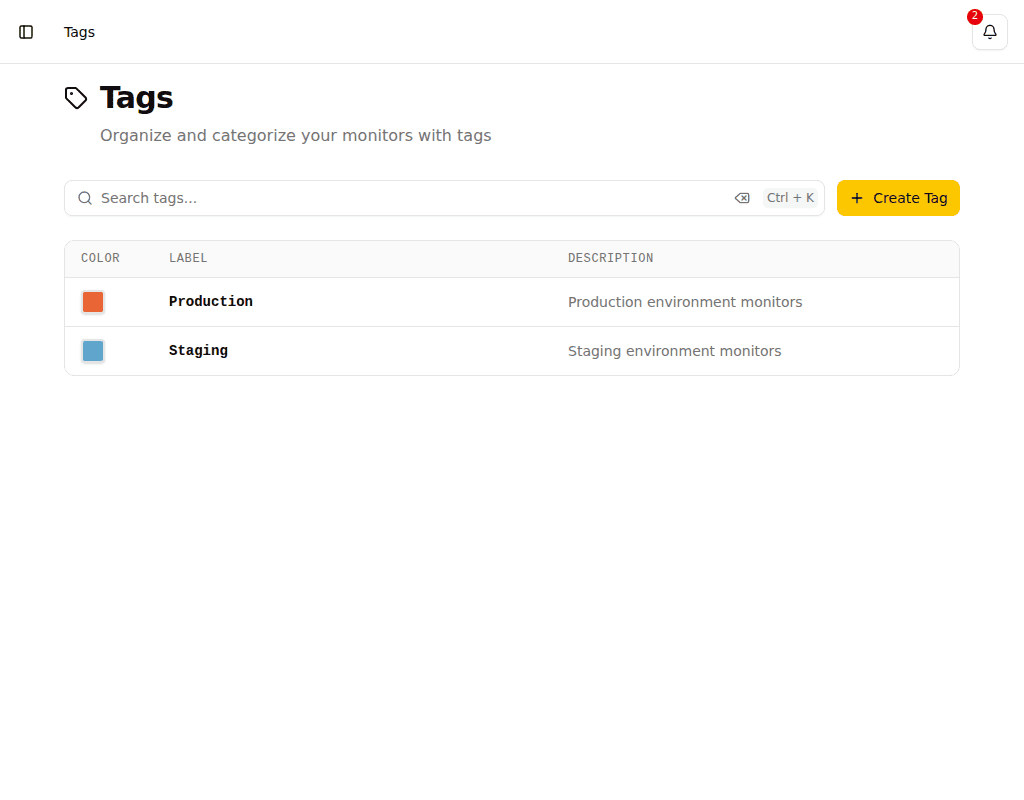
Tag List
When tags belong to categories, the list is grouped by category. Each group shows the category name and tag count and can be collapsed or expanded by clicking the group header. A row of filter chips above the list lets you narrow the view to a single category. When you search by name, the list switches to a flat alphabetical view with a Category column so you can see at a glance which category each tag belongs to.
Creating a Tag
- Navigate to Tags in the sidebar
- Click Create Tag
- Configure the tag:
| Field | Description |
|---|---|
| Label | The display name for the tag |
| Description | Optional description of what this tag represents |
| Color | A color for visual identification |
| Category | Optional dimension this tag belongs to |
Editing a Tag
Organization admins can edit an existing tag's label, description, and color. Click a tag in the list to open its detail page, make your changes, and click Save Changes.
Deleting a Tag
Organization admins can delete a tag from its detail page. Click the Delete Tag button, confirm the action in the dialog, and the tag is permanently removed.
WARNING
A tag that is still assigned to one or more monitors cannot be deleted. Remove the tag from all monitors first, then delete it.
Using Tags
After creating tags, you can assign them to monitors during creation or editing. On the monitor list page, use the tag filter to quickly find monitors with specific tags.
TIP
Use tags to group monitors by location (e.g., "Building A", "Line 3"), by criticality (e.g., "Safety", "Production"), or by equipment type.
Organizing Tags into Categories
Once you have more than a handful of tags, sort them into categories — Customer, Project, Site — so the tag picker groups them by dimension and filters can combine several dimensions at once.
See Tag Categories.